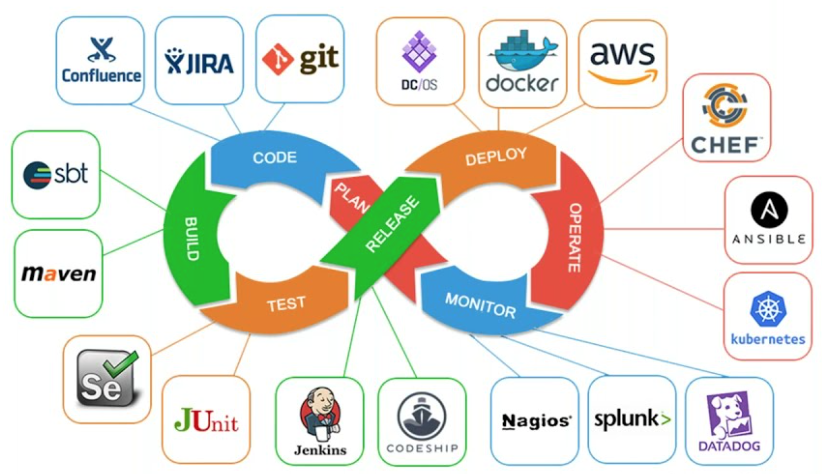
In today’s DevOps-driven world, Kubernetes has become the cornerstone of modern cloud-native applications. Microsoft Azure provides a fully managed Kubernetes service called Azure Kubernetes Service (AKS), which helps you focus on deploying and managing containerized applications without worrying about the underlying infrastructure.
In this guide, we’ll walk you through how to create an AKS cluster using PowerShell directly from the Azure Cloud Shell or your local PowerShell session. Whether you’re getting started or automating cluster provisioning, this tutorial will provide a clear, step-by-step approach.

✅ Prerequisites
Before we begin, make sure you have the following:
- An active Azure subscription
- Azure PowerShell installed locally or use Azure Cloud Shell
- Azure CLI is optional but recommended for verification
🔧 Step 1: Log in to the Azure Account
Open PowerShell and log in to your Azure account.
Connect-AzAccount
This command opens a sign-in window or browser-based prompt to authenticate your account.
📁 Step 2: Set Your Subscription (If You Have Multiple)
Get-AzSubscription
Set-AzContext -SubscriptionId "your-subscription-id"
🏗 Step 3: Create a Resource Group
A resource group is a container that holds related resources for an Azure solution.
$resourceGroup = "AKS-ResourceGroup"
$location = "EastUS"

New-AzResourceGroup -Name $resourceGroup -Location $location
🛡 Step 4: Create an Azure AD Service Principal (Optional but recommended)
This account will be used by AKS to interact with Azure resources.
$sp = New-AzADServicePrincipal -DisplayName "AKSServicePrincipal"
$spPassword = (New-AzADSpCredential -ServicePrincipalObjectId $sp.Id).SecretText
Store the AppId and Password for later use.
🚀 Step 5: Create the AKS Cluster
$aksName = "MyAKSCluster"

New-AzAksCluster `
  -ResourceGroupName $resourceGroup `
  -Name $aksName `
  -KubernetesVersion "1.29.2" `
  -NodeCount 3 `
  -NodeVmSize "Standard_DS2_v2" `
  -GenerateSshKey `
  -Location $location `
  -EnableRBAC
💡 You can specify additional parameters such as -ServicePrincipalId, -ClientSecret, or -NetworkPlugin azure For more custom setups.
🔍 Step 6: Verify the Cluster
After creation, verify the AKS cluster status:
Get-AzAksCluster -ResourceGroupName $resourceGroup -Name $aksName
📦 Step 7: Connect to the AKS Cluster Using kubectl
First, install kubectl if you haven’t already:
az aks install-cli
Then, get credentials:
az aks get-credentials --resource-group $resourceGroup --name $aksName
Verify connection:
kubectl get nodes
✅ Wrapping Up
You’ve successfully created an AKS Cluster using PowerShell on Microsoft Azure! This process is ideal for automating infrastructure deployment.
🎯 Bonus Tips
- Use Azure Bicep or Terraform for infrastructure-as-code.
- Integrate Azure Key Vault and Managed Identity for secure secrets management.
- Enable monitoring with Azure Monitor and Log Analytics for production workloads.


